
The Glassing Gear Setup Guide
Apr 30, 2025
Optimize Your Optics System from Pack to Peak
If you're spending hours behind the glass during hunting season, your success starts with the right gear setup. From binos and spotting scopes to tripods and adapters, every piece of your glassing system should work together like a well-oiled machine.
This guide will walk you through how to build a rock-solid glassing kit that works efficiently in the backcountry without breaking your back or your budget.
Why Your Glassing Setup Matters
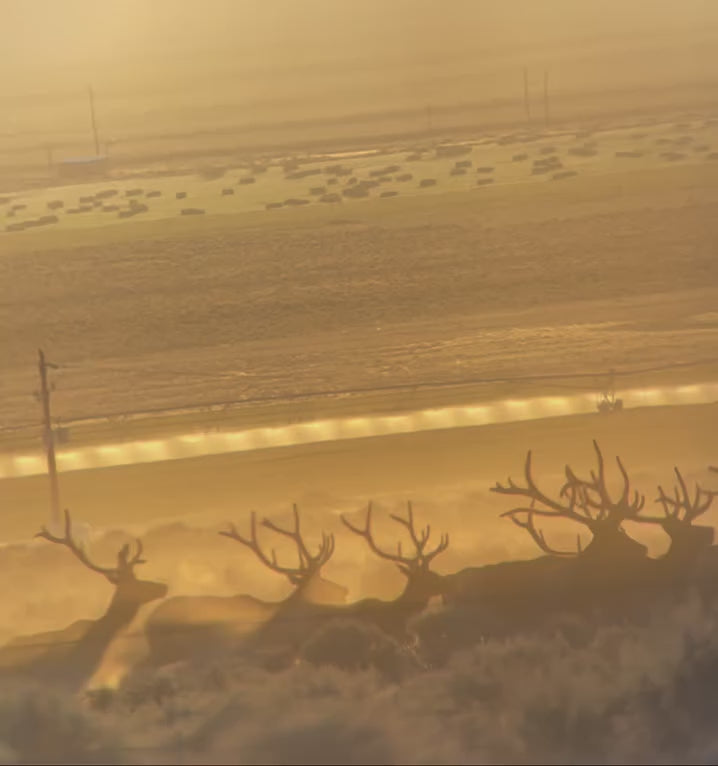
You can have the best optics in the world, but if your tripod wobbles or your binos aren’t mounted securely, you’re missing critical details in the field.
A dialed-in glassing setup helps you:
- Spot animals quicker
- Reduce fatigue during long sits
- Stay more comfortable and focused
- Make better decisions when it's go time
Core Components of a Backcountry Glassing Kit
Here’s what every serious Western hunter should have in their system:
1. Binoculars
Your go to tool for scanning terrain. Choose 10x42 for versatility or 12x50 for extra reach.
2. Spotting Scope
Use this for evaluating game at distance. Look for 60-85mm objective lenses and quality HD glass. Angled scopes are easier for extended sessions on a tripod.
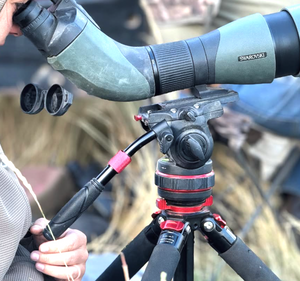
3. Tripod
Arguably the most overlooked piece—but maybe the most important. A stable tripod like the Muley Maniacs Canati Redline XL Combo keeps your optics still so you can focus on finding animals, not fighting vibration. With its carbon fiber legs, lightweight build, and ultra-smooth fluid head, the Redline XL is purpose-built for serious glassing sessions in tough terrain.
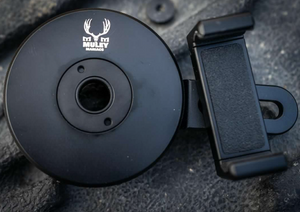
4. Mounting System
Use bino adapters like the Muley Maniacs Gen 2 Bino Clamp or Arca-Swiss plates to switch easily between optics. Quick-release heads are key for fluid transitions between spotting scopes and binos.
5. Glassing Pad or Stool
Comfort matters when you're glassing for hours. Consider pairing your kit with the Muley Maniacs Glassing Pad to stay steady, comfortable, and focused.
How to Set Up Your Tripod Like a Pro
✔ Start with a Solid Base
Set your tripod legs wide and low to the ground for stability. On steep slopes, keep two legs downhill and one upslope.
✔ Match Height to Terrain
Avoid fully extending all leg sections unless necessary. Use the terrain to your advantage for sitting or standing setups.
✔ Level It Out
Even small tilts can mess with your scan grid. Use a bubble level or adjust until your scope pans smoothly.
✔ Use a Fluid Head
A good fluid head allows buttery-smooth pan and tilt movements—critical for tracking movement or gridding slopes. The Redline XL includes an optimized fluid head made specifically for glassing.
Sample Loadouts: Good, Better, Best
Good (Budget Build)
- 10x42 binos
- Entry-level 60mm spotting scope
- Aluminum tripod
- Bino harness w/ basic adapter
Better (Mid-Tier)
- 12x50 HD binos
- 80mm spotting scope
- Carbon fiber tripod (Muley Maniacs Canati Redline XL)
- Gen 2 Bino Clamp + Arca-Swiss quick-release plate
Best (Pro-Level)
- 15x56 binos
- 85mm Swaro or Maven S.1A
- Muley Maniacs Canati Redline XL Combo
- Pan/tilt head with adjustable resistance
Bonus Tips
- Use a sunshade on your spotter to reduce glare
- Always glass with the sun at your back when possible
- Pack a microfiber cloth and anti-fog wipes
- Store optics in padded pouches when not in use
- Invest in solid accessories like the Muley Maniacs Quick Release Plate for easier switching in the field
Final Thoughts: Your Gear Should Work With You, Not Against You
A smart glassing setup can mean the difference between tagging out and going home empty-handed. When every ounce counts and every decision matters, rely on a system that’s tested in the field—built for the grind.
The Muley Maniacs Canati Redline XL Combo isn’t just another tripod—it’s the backbone of your entire glassing strategy.
Upgrade your setup. Elevate your hunt.
Visit MuleyManiacs.com to build your perfect glassing kit today.
Muley Maniacs: Built by hunters, for hunters.